Second Language Vocabulary Activities for Children
Four Activities to Help Your Children Remember Second Language Vocabulary
- Pinwheels
- Memory Game
- Color the picture
- Letter Book
Having my four-year-old children at home has been fun, however, it has been a challenge to keep them entertained while I work. I want them busy and I also want them learning! Therefore, I have decided to create some second language vocabulary learning activities for children.
They recently joined my second language learning program, Little Lions Learn. Since they joined, I have been wanting them to practice new vocabulary words in Spanish and have been thinking of different ways they can do this. I want them to practice in a fun way that will encourage them to keep learning.
To help encourage them to learn, I created these language-learning activities. It has been fun, and I hope you will enjoy it as well. In addition to these printable activities, you can customize some of them for your own children. These activities may give you new ideas for things you can make with your children, in just a few minutes.
You can use these second language learning activities in a variety of ways including practicing second language vocabulary, parts of speech, math, science, or any other vocabulary that your children may be trying to learn.
Enjoy these activities!
Activity #1 Second Language Vocabulary for Children is Pinwheels
We call them pinwheels, you may call them spinners. Whatever you call them, they are very helpful and fun! My children had a blast making these pinwheels and have enjoyed practicing their new vocabulary words.
Supplies You Need

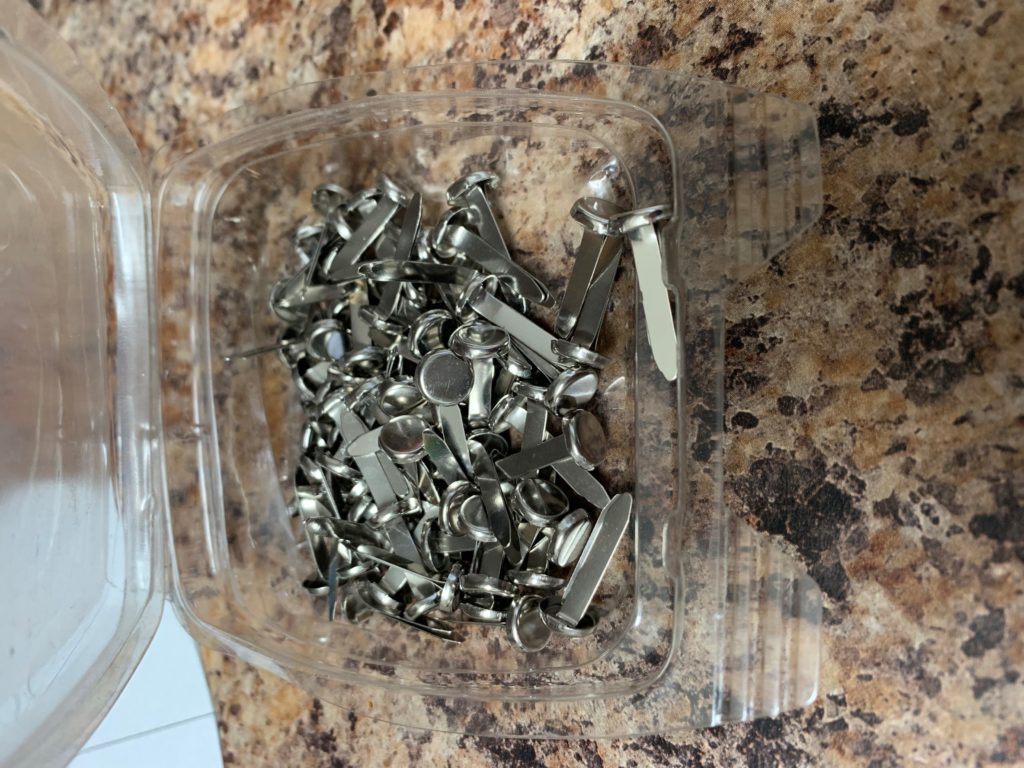
The most important supplies that you will need include paper, scissors, markers, crayons, and fasteners. Don’t forget the fasteners, or brads, as I did. Fasteners are the most important part because they bring the entire project together. I have also seen pinwheels held together with paper clips, but it doesn’t work as well.
Cut the Pinwheels
Second, we cut out the pinwheels. Your younger children may need help with this. For instance, one of my four-year-old kiddos cuts very well and did fine with this but the other one got frustrated and needed help. Therefore, I found that this was a great time to help him practice his paper-cutting skills. I focused on encouraging him and helping him through the process. We did wind up scratching one of the Pinwheels, but it was great practice.
Did you know that Crayola has three different languages written on the crayons? I was very impressed by this and I have no idea why I never noticed that before. It is great, especially if it happens to be one of the languages you are studying! Now every time we color, which is really often, I have my kids practice the names of the colors in Spanish.
Draw the Pictures
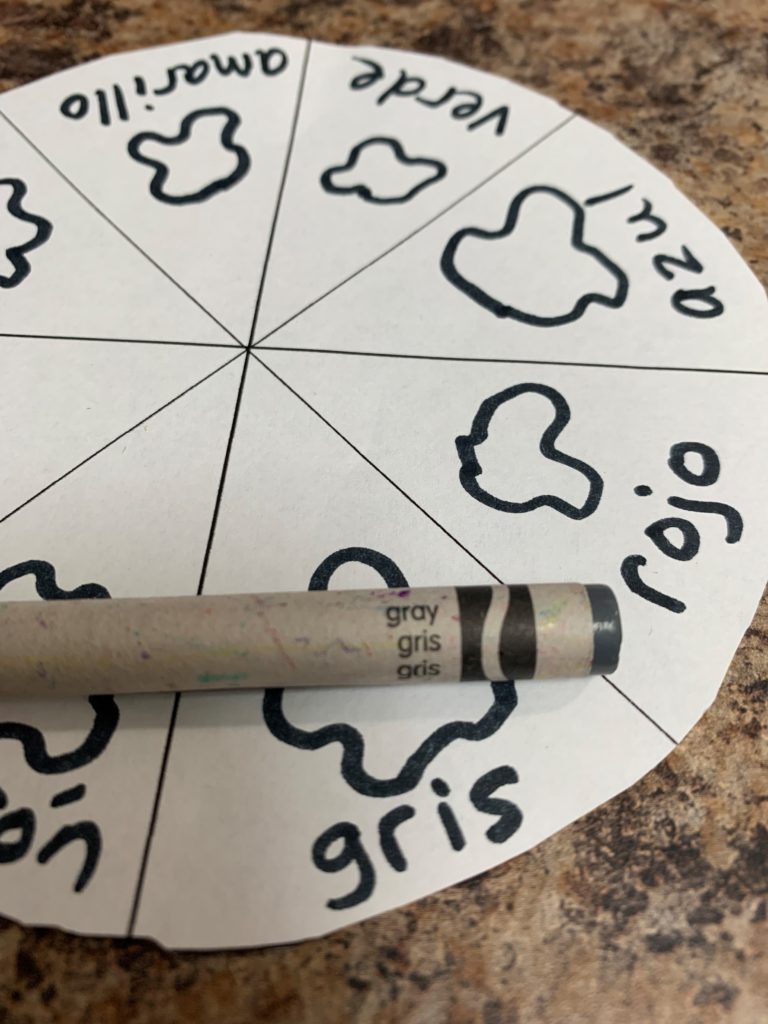
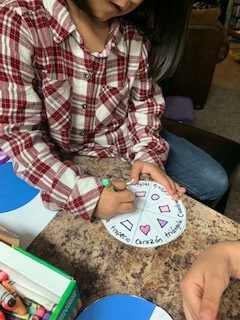
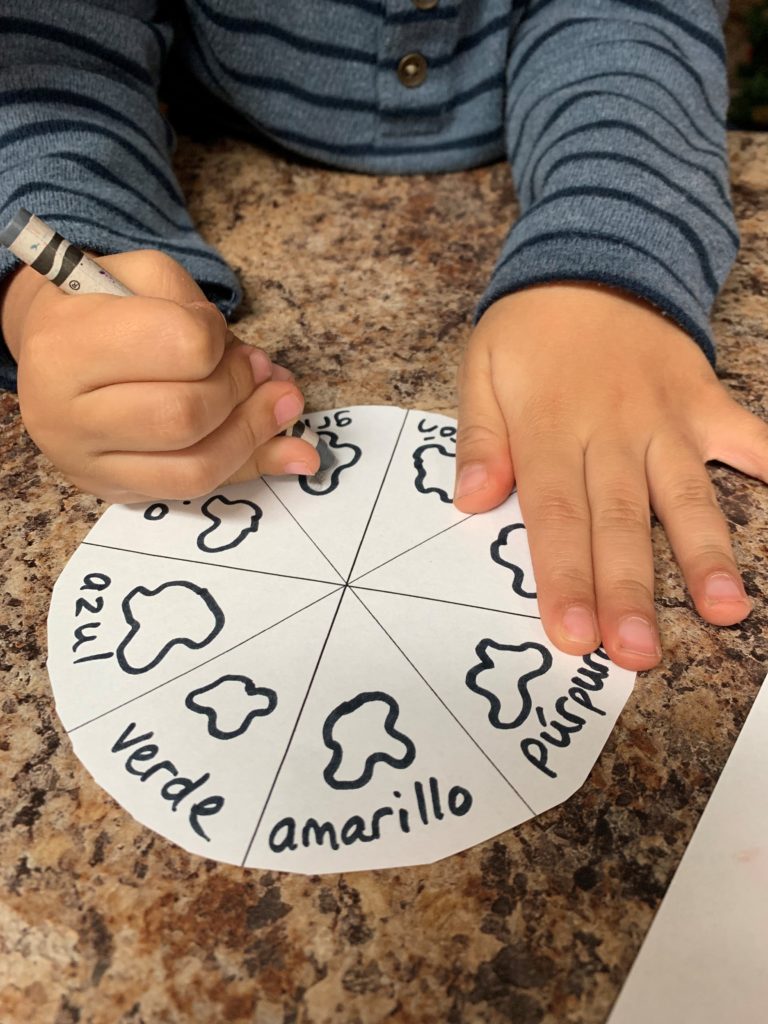
Third, We drew pictures in each blank space on the pinwheel. It is important to face the pictures toward the outside so that as you spin the top around, the pictures are easily visible. I drew the pictures for my younger kids and allowed them to color them. I also wrote the vocabulary words for them. My older daughter, age 8, was able to do this on her own. I think the twins, age 4, could have done this with larger pinwheels. You can easily take out some of the lines in the circle and make it with only four pie pieces. This will create a larger pie slice and room for larger drawings. Since I believe in the importance of allowing the children to do most of the work we will try the larger pie slices next time.
The fourth step is to color the pictures. My children love coloring therefore, this part was fun for them. If I let them, the would spend hours coloring. As a result of this activity, I was able to get some work done as they colored. It was great!
Assemble the Pinwheels
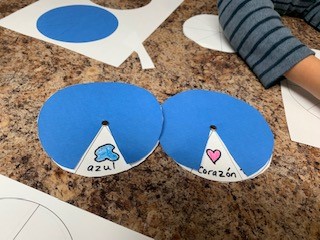
Lastly, we assembled the pinwheels. Place the blue circle on top of the colored circle then poke the fastener through the center of the pinwheel and bend the back. The fastener is what keeps the pinwheels held in place and allows them to spin around. Therefore, they are a very handy office supply to have in the house for crafts!
Play Time!
Now that the Pinwheel is assembled, you can spin the pinwheel and practice the vocabulary. It is fun and my children have been wanting to play with it daily! There are different ways you can play with the Pinwheels. You can write the word in one pie slice and draw the picture on the opposite side, or you can put them in the same pie slice the way I did. Either way, it will be fun to put together and afterward, you will have a craft that your children can continue playing with for a long time.
We made a game out of the spinner. We rolled the dice and practiced counting in Spanish as we spun the pinwheel around that many times. For example: If the dice landed on a 5 my children would say “cinco” and spin the wheel around five times until they landed on a new picture. Then they would say that word, “azul”. If they got the word correct they earned a point if they did not get the word correct, they lost their turn.
Topic ideas: Colors, animals, numbers, shapes, rooms in the house, things at school, food, etc.
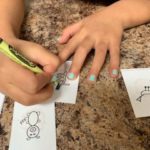
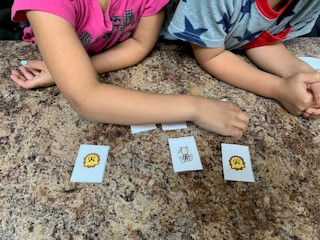
Activity #2 is the Vocabulary Memory Game
This was their favorite activity out of all the second language vocabulary activities that my children did this week! They loved it and didn’t want to stop playing!

Print the Memory Game
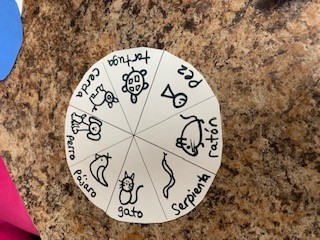
First, I printed the memory game sheets that I designed on the computer. Make sure to print this “front to back: if you want the design on the backside or you can just print the flashcards and skip the design if you want to save some ink. Your kids can always make their own designs on the back.
For this project, I designed some animals on the computer. You can use these animals that I drew or use the blank sheet to create your own. I recommend printing it on thicker paper, the ink on the thin paper bled through a bit. You can also make larger cards if you think it is best, these are a little bit small.
Cut Out the Cards
Second, we cut out the cards using a cutting board. You can use scissors or whatever is easiest for you.
My kids really wanted to color the animals. They divided the animals between them and began coloring. As soon as they were done it was time to play.
Play Time!
The last step is to play the game. They played this game once, twice, no three times! It is so much fun! This game is great for helping them remember the name of each animal. They were required to identify the picture and the word! They didn’t want to stop playing. Fun! They have also since this day pulled out the game on several occasions to play it.
Activity #3 Color the Sheet
For this activity, I wanted my kids to practice the color’s names. I am sure you can practice numbers too, or anything else you can think of. It was easy to make. I am sure the design could be better, but hey, it was my first time making one, and they had a lot of fun coloring it!
Paint
Using the “Paint” program, I made this picture on the computer. You can also draw a picture on white paper, using a black marker. Simply draw the picture you want them to color, then add many lines around the page extending to the end of the page. The hard part is adding a number or letter into every space on the page.
Since this day, my kids have asked for more sheets like this. I recently printed them a gingerbread house that I found on the internet and my son asked me to add numbers to the picture. They loved it!
Other Ideas for Using this Activity
There are lots of ways you can challenge them. In addition to numbers, you can also add letters or words in each space. Consider practicing beginning and ending sounds by adding them in the spaces. You can practice parts of speech or transition words. Use your imagination and make sure to share your ideas in the comment section.

Don’t Want to Draw a Picture?
Instead of using paint or drawing their pictures, you can use their coloring books to add numbers, letters, or words. The best part is they are learning. As a result, they can continue to practice letters, colors, numbers, words, or whatever they can imagine and fit in the spaces.
Colorful
I thought it would look best if the entire page was colored, so I made an entire underwater ocean scene. My kids love coloring and would spend hours doing it if I let them. If your kids like coloring as much as mine do, this is the perfect activity for them!
Altogether, my kiddos spent about 30 minutes coloring this paper which allowed me to get some work done and they loved it. Not only did they enjoy it, but they were also practicing their colors in Spanish! Score!
Activity #4 Vocabulary Letter Book
We just started this project and have a long way to go. This is something you can keep for a long time and keep adding to it. We are making a book with several sheets of white paper, enough for the entire alphabet. One sheet per letter. You can fold some paper in half to make smaller booklets, but we are going to use full sheets of paper because our goal is to add many new vocabulary words and pictures.
Making Your Book
First, we punched holes in the side of the paper and placed some fasteners in the holes to hold the pages. You can tie them together with string or anything you can think of.
On the top of each page, we titled it with the letter of the alphabet. As they learn new vocabulary words beginning with each letter, they will draw a picture and write the word.
Draw Pictures Whenever Possible
I am a firm believer in drawing pictures whenever possible. When I taught in the classroom, I did a study and found that drawing pictures is extremely beneficial, even with high school students.
During my study, I found that it can even help improve test scores. My (WHAP) World History AP students used to draw pictures to answer very difficult questions. It was a great tool that I used to help them develop their critical thinking skills. They were not allowed to write any words or use numbers. It was very effective! So, the sky is the limit! Use your imagination and come up with fun drawing activities for your children.
When children draw their own pictures, along with writing the new word, it helps to etch the vocabulary words into their brains. According to Edutopia, Drawing pictures is good for boosting memory along with several other things.
Science Daily says this can also be good for adults or people of all ages. So in your spare time consider drawing some pictures to help your memory. I know, I know…..who has spare time these days? Just give it a try! Plus you may be surprised at just how relaxing it is.
Our letter book will be an ongoing project for quite some time. Make sure to enter your email below to receive future blogs and I will keep you updated on how the book is progressing. There will also be future blogs on second language vocabulary activities for children.
What are some variations you can think of to do with your kiddos? Post in the comments and let us know. Make sure to also post some pictures of your final project so we can see them!
Do you want to read more articles like this? Check out our latest blogs!
- The Ultimate Guide to Creating a Homeschool To-Do Checklist
- Creating a Memorable Valentine’s Day for Your Homeschoolers
- 15 Fun and Easy DIY Valentine Box Ideas for Kids
- Juggling Work and Homeschooling: 10 Things You Can Do.
- The Transformative Power of Christian Meditation in Homeschool
Don’t have time to read the blog now? Type your email below and we will email you the link to our blog. You will also receive an email every time we post a new blog. Don’t worry you can unsubscribe at any time.